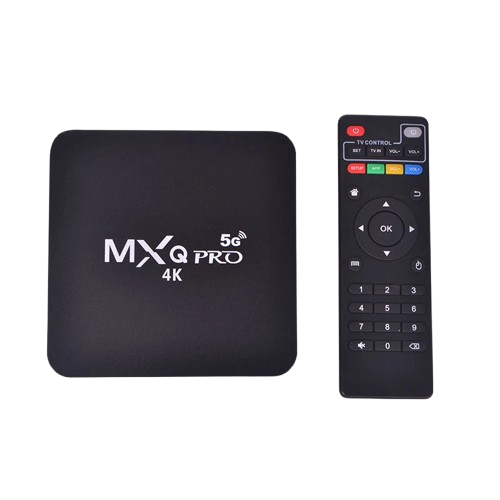
How to Set Up Cox Mini Box to TV
Setting up your Cox Mini Box to a TV is easy. You can do it yourself in a few minutes. This guide shows every step clearly.
Step 1: Check Your Equipment
Before starting, make sure you have:
- Cox Mini Box
- TV turned on
- HDMI cable (or coax cable if using RF method)
- Power adapter for the Mini Box
- Cox remote with fresh batteries
Step 2: Connect the Mini Box to the TV
Option 1: HDMI (recommended)
- Plug one end of the HDMI cable into the Mini Box.
- Plug the other end into an available HDMI port on your TV.
- Remember the HDMI port number (HDMI 1, 2, etc.)
Option 2: Coax / RF (if no HDMI available)
- Use a coax cable from the Mini Box “Cable Out” to the TV “Cable In” port.
- Set the TV to channel 3 or 4.
- Set the switch on the back of the Mini Box to the same channel.
Step 3: Connect the Mini Box to Power
- Plug the Mini Box power adapter into the wall outlet.
- Connect the other end to the Mini Box.
- Wait for the Mini Box to start.
Step 4: Select TV Input
- Using your TV remote, press Input or Source.
- Choose the HDMI port you connected to (for HDMI setup).
- For coax, make sure the TV is on the channel you set (3 or 4).
Step 5: Activate the Mini Box
- Follow the on-screen instructions to activate.
- You may need your Cox account info.
- Complete activation online or by phone if prompted.
Step 6: Pair the Remote
- Follow the on-screen instructions to pair the Cox remote to the Mini Box.
- Test the remote by changing channels and adjusting volume.
Step 7: Test Everything
- Change channels and open the guide.
- Test apps (like YouTube or Netflix if available).
- If something does not work, check all cable connections and TV input again.
Troubleshooting Tips
- No picture: Make sure HDMI is connected and TV input is correct.
- No sound: Check volume on both TV and Mini Box.
- Remote not working: Replace batteries and re-pair.
- Activation fails: Check coax or Ethernet connection, reboot the Mini Box, then try again.
