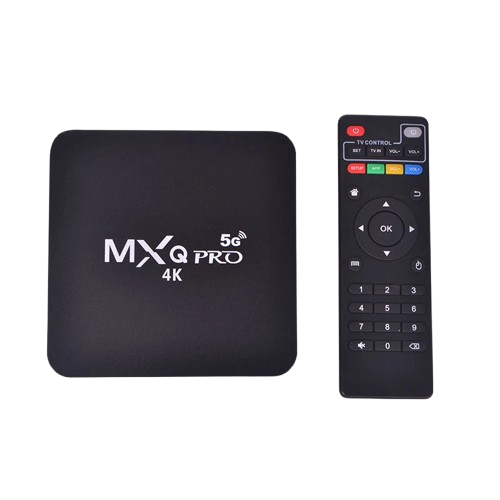
How to set up Cox Mini Box remote to TV — step-by-step
Quick checklist (what the client needs)
- Cox Mini Box and Cox remote
- Fresh batteries in the Cox remote
- TV switched on and connected to the Mini Box (HDMI or coax)
- Mini Box powered on and showing a picture
- A clear line of sight between remote and box
Method 1 — Recommended: On-screen Remote Setup (easy & reliable)
- Turn on the TV and the Cox Mini Box. Wait until you see the Cox screen.
- Press Home (or Menu) on the Cox remote.
- Go to Settings → Equipment → Remote or Remote Setup (menu names vary).
- Choose Program Remote or Set up remote for TV.
- Select TV and then choose your TV brand from the list.
- Follow the on-screen instructions — typically you will be asked to:
- Press the Power button on the remote repeatedly until the TV turns off, or
- Press Volume Up / Volume Down to check if the TV volume changes.
- When the TV responds, select Save / Yes / OK on screen to store the code.
- Test Power, Volume, and Mute. If any function fails, repeat and try another brand entry.
Method 2 — Manual Code Entry (if on-screen option not available)
- Turn on the TV.
- Press and hold the TV button (or Setup) on the remote until the LED light stays on or blinks.
- Enter the 3- or 4-digit code for your TV brand (from the remote manual or code list).
- Press Power once. If the TV turns off, press Save or Setup to lock the code.
- Test Volume and Power. If it didn’t work, try the next code in the list.
Tip: If you don’t have the code list, use the Code Search method below.
Method 3 — Code Search / Auto Search (if you don’t have codes)
- Turn the TV on.
- Hold the TV or Setup button until the LED stays on.
- Press CH+ (or the search button) repeatedly — the remote will cycle through codes automatically.
- Watch the TV: when it turns off or responds, immediately press OK / Enter / Save to store that code.
- Test Power and Volume. If Volume doesn’t work, continue the search or try again.
Alternative: Use HDMI-CEC (no programming needed, if supported)
- On the TV, enable HDMI-CEC in settings (brand names: Anynet+, Bravia Sync, Simplink, VIERA Link, etc.).
- On the Cox Mini Box, enable any HDMI control option (if present).
- Restart both devices. The Cox box may then control TV power/volume automatically.
Note: HDMI-CEC behaviour varies by TV model — sometimes only power works, sometimes volume works too.
Reset / Re-try (quick fixes)
- Replace remote batteries.
- Remove batteries for 30 seconds, press any button, then reinsert batteries and try again.
- If remote has a reset option in the manual, follow that to clear previous codes, then reprogram.
- Ensure nothing blocks the IR sensor on the Mini Box.
Troubleshooting (common problems & quick fixes)
- Remote does nothing → Replace batteries; point directly at box; remove obstacles.
- Remote controls box but not TV power/volume → Re-run on-screen setup and try a different TV brand code; try code search.
- Volume works but power does not → Try another code or enable HDMI-CEC.
- Intermittent control → Check battery contacts, ensure line of sight, try new batteries.
- Still not working → Try a universal remote or contact Cox support for remote model-specific help.
One-line WhatsApp message clients can use
“Hi — please turn on your TV and Cox Mini Box, press Home → Settings → Equipment → Remote Setup on the box, choose your TV brand and follow the on-screen steps to pair the remote. If that fails, try code search or call us.”
Printable one-page checklist (copy to send)
- Put fresh batteries in the Cox remote.
- Turn on TV + Cox Mini Box (showing Cox screen).
- Home → Settings → Equipment → Remote Setup.
- Select TV brand → follow prompts (press Power / Volume until TV responds).
- Save settings → test Power/Volume/Mute.
- If fail → try manual codes or Code Search.
- If still fail → try HDMI-CEC or contact support.
