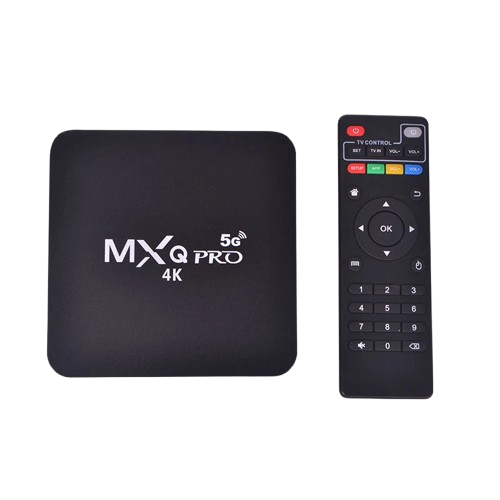
A Mini TV Box is a small device that lets you turn any normal TV into a smart TV. With it, you can watch YouTube, Netflix, IPTV, and many other apps directly on your TV. Installing a Mini TV Box is very simple, and you can do it at home without any expert help. Just follow the steps below.
Step 1: Unpack the Mini TV Box
- Open the box carefully and take out the Mini TV Box, power adapter, HDMI cable, and remote control.
- Make sure all parts are included before starting.
Step 2: Connect the Mini TV Box to the TV
- Find the HDMI port on the back or side of your TV.
- Plug one end of the HDMI cable into the TV and the other end into the Mini TV Box.
- If your TV does not have HDMI, use an AV cable (if supported by your box).
Step 3: Power Up the Mini TV Box
- Connect the power adapter to the Mini TV Box.
- Plug the adapter into an electric socket.
- Turn on the TV Box using the remote control.
Step 4: Select the HDMI Input on Your TV
- On your TV remote, press the “Input” or “Source” button.
- Choose the HDMI port number where you connected the Mini TV Box.
- The Mini TV Box startup screen will appear.
Step 5: Connect to Wi-Fi Internet
- Use the remote to go to Settings.
- Select Network and then Wi-Fi.
- Choose your Wi-Fi network and enter the password.
- Once connected, you are ready to use online apps.
Step 6: Log in and Install Apps
- Go to the Google Play Store (or App Store on your box).
- Log in with your Google account.
- Install apps like YouTube, Netflix, or IPTV as needed.
Step 7: Adjust Settings (Optional)
- Change the display resolution for better picture quality.
- Set up language and time zone.
- Pair your mini keyboard or Bluetooth remote if you have one.
Step 8: Start Watching
- Open your favorite app.
- Stream movies, shows, or live channels directly on your TV.
Conclusion
Installing a Mini TV Box is very easy and takes less than 10 minutes. Just connect it to your TV with HDMI, connect to Wi-Fi, and install your favorite apps. Once done, you can enjoy smart features on any normal TV.
