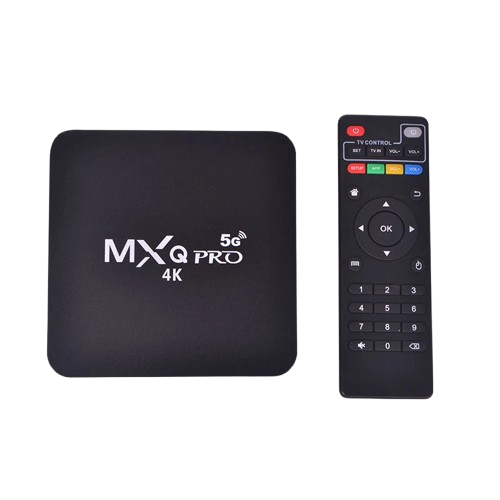
How to Connect a Mini Wireless Keyboard to Android TV Box
A mini wireless keyboard provides a much easier way to navigate, type, and control apps on your Android TV Box compared to using a standard remote. Follow these simple steps to set it up professionally.
Step 1: Check Your Mini Wireless Keyboard
- Ensure your keyboard comes with:
- USB wireless receiver (dongle)
- Charging cable
- User manual
- Fully charge the keyboard before use.
Step 2: Power On the Keyboard
- Turn on the mini wireless keyboard using its power switch.
- The indicator light should blink, indicating it is ready to pair.
Step 3: Insert the USB Receiver
- Plug the USB wireless receiver into an available USB port on your Android TV Box.
- The TV Box should automatically detect the keyboard.
Step 4: Test Keyboard Functions
- Use the keyboard to move the cursor if it has a touchpad.
- Type in a search field or open an app to verify functionality.
- Test additional buttons like volume control or media shortcuts.
Step 5: Reconnect if Necessary
- If the keyboard does not connect, remove and reinsert the USB receiver.
- Restart your Android TV Box and turn the keyboard off and back on.
- Repeat the pairing process if needed.
Step 6: Optional Bluetooth Connection
- Some mini wireless keyboards support Bluetooth.
- Turn on Bluetooth on your Android TV Box.
- Put the keyboard in Bluetooth pairing mode.
- Select the keyboard from the TV Box’s Bluetooth menu to pair.
Benefits of Using a Mini Wireless Keyboard
- Easier navigation than a standard remote
- Faster typing for searches and passwords
- Built-in touchpad for mouse-like control
- Wireless, portable, and rechargeable
