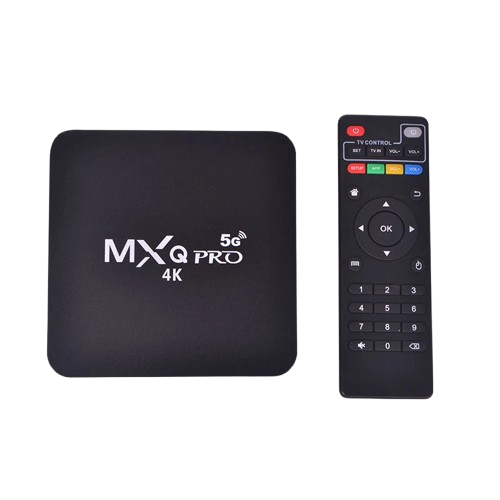
How to Connect Mini MX Android TV Box to Wi-Fi
Connecting your Mini MX Android TV Box to Wi-Fi allows you to stream videos, access apps, and browse the internet without using cables. Follow these simple steps for a smooth setup.
Step 1: Power On Your Mini MX Android TV Box
- Connect your Mini MX TV Box to your TV using an HDMI cable.
- Plug in the power adapter and turn on the TV Box.
- Switch your TV to the correct HDMI input.
Step 2: Open Network Settings
- On the home screen, go to Settings.
- Select Network & Internet or Wi-Fi (depending on your firmware version).
Step 3: Enable Wi-Fi
- Ensure Wi-Fi is turned ON.
- Your Mini MX TV Box will scan for available networks automatically.
Step 4: Select Your Wi-Fi Network
- From the list of detected networks, select your home Wi-Fi network.
- Enter your Wi-Fi password carefully and confirm.
Step 5: Test the Connection
- Once connected, your TV Box should display a “Connected” status.
- Open a streaming app or a web browser to verify internet access.
Step 6: Troubleshooting
- If the connection fails, restart your Mini MX TV Box.
- Ensure your Wi-Fi router is working and within range.
- Re-enter the Wi-Fi password and try connecting again.
- If still unsuccessful, try restarting the router.
Benefits of Connecting to Wi-Fi
- Access streaming apps like YouTube, Netflix, and Amazon Prime
- Download and install Android apps
- Stream movies, music, and TV shows wirelessly
- Avoid messy Ethernet cables for a cleaner setup
