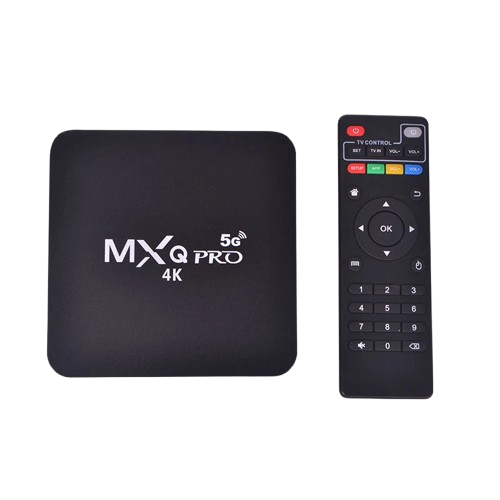
How to Connect a Mini Keyboard to Android TV Box
Using a mini keyboard with an Android TV Box makes navigation, typing, and app control much easier than using the standard remote. Follow these simple steps to connect it quickly and professionally.
Step 1: Check the Mini Keyboard
- Ensure the mini keyboard comes with:
- USB wireless receiver (dongle)
- Charging cable
- User manual
- Charge the keyboard fully before use.
Step 2: Power On the Keyboard
- Turn on the mini keyboard using the power switch.
- The indicator light should blink, signaling it is ready to pair.
Step 3: Connect the USB Receiver
- Insert the USB receiver into an available USB port on your Android TV Box.
- The TV Box should automatically recognize the keyboard.
Step 4: Test the Connection
- Use the keyboard to move the cursor with the touchpad (if available).
- Type in a search field or open an app to verify functionality.
- Check additional buttons, such as volume or media controls, to ensure they work.
Step 5: Reconnect if Needed
- If the keyboard does not connect, remove and reinsert the USB receiver.
- Restart the Android TV Box and turn the keyboard off and on again.
- Repeat pairing steps if necessary.
Step 6: Optional Bluetooth Connection
- Some mini keyboards support Bluetooth.
- Turn on Bluetooth on your Android TV Box.
- Put the keyboard in Bluetooth pairing mode.
- Search for the keyboard in the TV Box Bluetooth menu and pair it.
Benefits of Using a Mini Keyboard
- Easier navigation than remote control
- Faster typing for searches and passwords
- Built-in touchpad for precise cursor control
- Portable and rechargeable design
