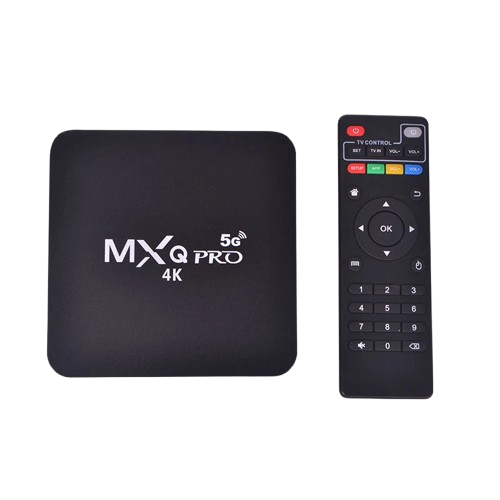
How to Connect Cox Mini Box to Issued TV Remote
The Cox Mini Box comes with a Cox-issued remote that allows you to control both your TV and the Mini Box. Setting it up correctly ensures smooth operation and convenience. Follow these simple steps to connect the remote to your Cox Mini Box.
Step 1: Insert Batteries in the Remote
- Remove the battery cover on the back of the Cox-issued remote.
- Insert the recommended batteries, making sure they are aligned properly.
- Replace the cover.
Step 2: Power On Your Devices
- Turn on your TV.
- Ensure the Cox Mini Box is plugged in and powered on.
Step 3: Pair the Remote with the Mini Box
- Point the remote at the Cox Mini Box.
- Press the Contour button (if available) or Menu button.
- The remote should automatically connect with the Mini Box.
Step 4: Program the Remote for Your TV
- Locate the TV manufacturer code in the Cox Remote User Guide or from the Cox support website.
- Press and hold the Setup button until the LED light changes from red to green.
- Enter the TV manufacturer code using the number keys.
- The LED should flash green twice, confirming successful setup.
Step 5: Test the Remote Functions
- Try changing channels to verify control over the Cox Mini Box.
- Test the Volume and Power buttons to confirm control over your TV.
- If it does not work, repeat the setup process using a different manufacturer code.
Step 6: Troubleshooting
- If the remote is unresponsive, replace the batteries.
- Re-check the TV manufacturer code and repeat programming.
- For further help, visit the Cox support website or contact customer service.
