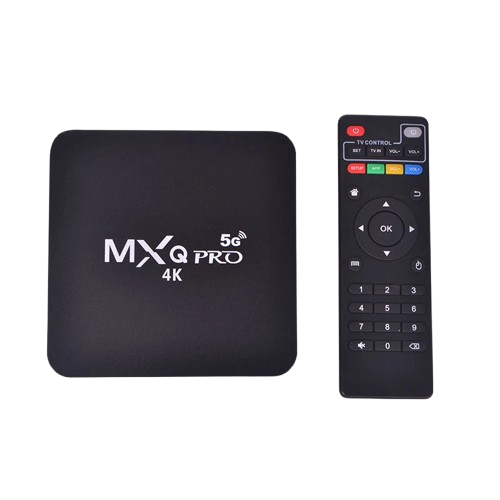
How to Add H9 Mini Keyboard to Android TV Box
The H9 Mini Keyboard is a compact wireless keyboard with a built-in touchpad, making it easier to control your Android TV Box compared to a standard remote. Setting it up is simple and requires only a few steps.
Step 1: Unbox the H9 Mini Keyboard
Inside the package, you will find:
- H9 Mini Keyboard
- USB wireless receiver (dongle)
- Charging cable
- Instruction manual
Make sure you have all the items before starting.
Step 2: Charge the Keyboard
Before using it for the first time, fully charge the H9 Mini Keyboard with the provided USB cable. This ensures smooth performance.
Step 3: Insert the USB Receiver
Locate the USB wireless receiver (usually found inside the battery compartment of the keyboard). Plug this receiver into an available USB port on your Android TV Box.
Step 4: Power On the Keyboard
Turn on the H9 Mini Keyboard using the power switch. The indicator light should blink, meaning it is ready to pair.
Step 5: Automatic Pairing
Most H9 Mini Keyboards automatically connect to the USB receiver. Once connected, the light will stay on, and you can start using the keyboard and touchpad immediately.
Step 6: Test the Functions
Use the touchpad to move the cursor on your TV screen and try typing with the keyboard. Check if the volume, navigation, and shortcut buttons work properly.
Step 7: Reconnect if Needed
If the keyboard does not connect, remove and reinsert the USB receiver or restart your Android TV Box. Then, turn the keyboard off and back on to refresh the connection.
Benefits of Using H9 Mini Keyboard with Android TV Box
- Easier navigation compared to a standard remote
- Full QWERTY keyboard for typing searches
- Built-in touchpad for mouse-like control
- Wireless and portable
