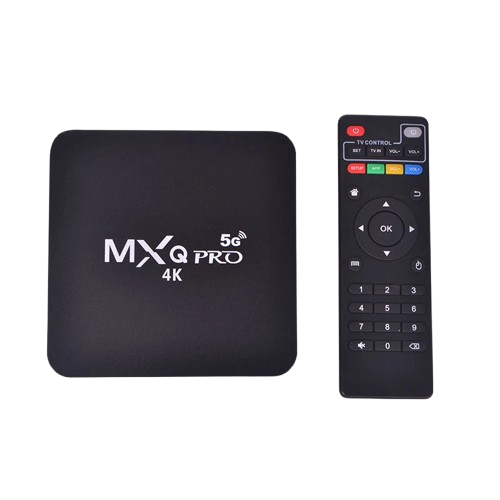
Can a Mini Projector Be Connected to a TV Box?
You can connect a mini projector to a TV box (Android TV box, X96, TX3, etc.) easily. Use the steps below.
What You Need
- TV box (powered and working)
- Mini projector
- HDMI cable
- If your projector has mini-HDMI or micro-HDMI, use the right adapter or cable
- Power adapters for both devices
- Optional: external speaker or soundbar (3.5 mm or Bluetooth)
Step 1: Check the Ports
- Look at the TV box. Find the port labeled HDMI OUT.
- Look at the projector. Find HDMI IN (HDMI1/HDMI2).
- If the projector only has VGA/AV, you will need an HDMI-to-VGA/AV converter (powered).
Step 2: Place and Power
- Put the projector on a flat surface, facing the screen or wall.
- Leave space for air vents.
- Plug in the projector and the TV box to power.
Step 3: Make the HDMI Connection
- Plug one end of the HDMI cable into the TV box (HDMI OUT).
- Plug the other end into the projector (HDMI IN).
- If your projector has mini/micro-HDMI, attach the adapter, then connect.
Tip: Do not use a projector USB port for video. Most USB ports on projectors give power or read files only.
Step 4: Select the Correct Input
- Turn on the projector.
- Press Source/Input on the projector remote.
- Choose HDMI (HDMI1 or HDMI2).
- Turn on the TV box. You should see the TV box home screen.
Step 5: Set the Right Picture Size
- Use the focus ring on the projector until the image looks sharp.
- Use keystone controls to fix a tilted picture.
- Move the projector forward or backward to adjust image size.
Step 6: Match the Resolution (Important for Clear Picture)
- On the TV box: Settings → Display/Screen → Resolution.
- Choose a resolution your projector supports (often 1080p 60 Hz or 720p 60 Hz).
- If the screen blinks or says “Out of Range,” choose a lower resolution.
Step 7: Get Sound Working
You have three choices:
- Use projector speakers: sound comes through HDMI automatically.
- Use an external speaker from the projector: plug a 3.5 mm cable into the projector’s Audio Out, or pair a Bluetooth speaker to the projector (if supported).
- Use an external speaker from the TV box: plug a 3.5 mm cable into the TV box (if it has one) or pair a Bluetooth speaker to the TV box.
Tip: In TV box Audio settings, select Stereo if you hear no sound.
Step 8: Test with an App
- Open YouTube (or any app) on the TV box.
- Play a video and check picture, sound, and smooth playback.
- Adjust volume on the projector, speaker, and TV box if needed.
Optional: Wireless Ways (If You Don’t Want a Cable)
- Wireless HDMI kit: Plug the transmitter into the TV box HDMI, and the receiver into the projector HDMI. Power both with USB. This sends video wirelessly.
- Streaming stick directly to projector: You can plug a Fire TV / Roku / Chromecast into the projector’s HDMI and skip the TV box. This is another option if your goal is streaming.
Quick Troubleshooting
- “No Signal” on projector: Wrong input selected, loose HDMI cable, or bad adapter. Re-seat the cable and choose the correct HDMI input.
- Image but no sound: Check Audio settings on the TV box (set to Stereo), try projector volume, or use a 3.5 mm speaker.
- Flicker or black screen: Use a shorter/better HDMI cable, set 1080p or 720p at 60 Hz.
- USB won’t show video: USB on projectors is usually for power or media files, not HDMI video.
- Lag or stutter: Switch apps to lower quality (e.g., 720p), improve Wi-Fi, or use Ethernet on the TV box.
