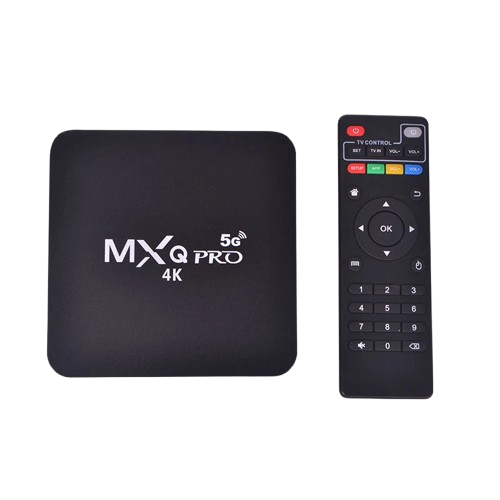
How to Setup Smart TV Box X96 Mini
Setting up your X96 Mini Smart TV Box is easy and can be done in just a few minutes. Follow these simple steps to turn your regular TV into a smart entertainment hub.
Step 1: Unbox and Check Accessories
- Open the package and check that you have:
- X96 Mini TV Box
- Power adapter
- HDMI cable
- Remote control
- User manual
- Make sure nothing is missing before starting the setup.
Step 2: Connect to Your TV
- Take the HDMI cable and connect one end to the X96 Mini TV Box.
- Connect the other end to your TV’s HDMI input port.
- Turn on your TV and select the correct HDMI input using your TV remote.
Step 3: Power On the TV Box
- Plug in the power adapter to the X96 Mini TV Box.
- Press the power button if needed, and wait for the home screen to appear.
Step 4: Connect to the Internet
- Go to Settings > Network.
- Select Wi-Fi or Ethernet.
- If using Wi-Fi, enter your Wi-Fi password to connect.
- Ensure a stable internet connection for smooth streaming.
Step 5: Set Up Language and Preferences
- On the first boot, select your preferred language.
- Adjust display settings if needed, such as resolution (1080p or 720p).
- Customize other settings like sound output or time zone.
Step 6: Install Apps
- Open the Google Play Store from the home screen.
- Search for apps like YouTube, Netflix, Prime Video, Kodi.
- Download and install the apps you want.
Step 7: Optional Accessories
- You can connect a wireless keyboard or mouse for easier navigation.
- Some users also connect USB drives or external storage for media playback.
Step 8: Enjoy Your Smart TV
- Navigate the home screen to access installed apps.
- Stream videos, browse the internet, or play Android games on your TV.
