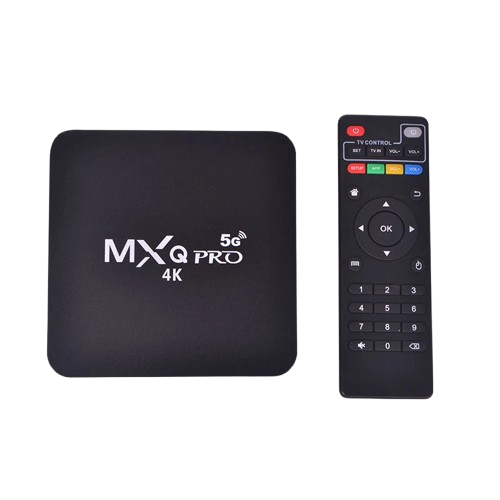
How to Sync Cox Mini Box Remote to TV
Syncing your Cox Mini Box remote to your TV allows you to control both your TV and the Mini Box with a single remote. Follow these simple steps for an easy setup.
Step 1: Check Your Equipment
Before you start, make sure you have:
- Cox Mini Box
- TV turned on
- Remote control with fresh batteries
- Cox account info ready (if needed for on-screen prompts)
Step 2: Turn on Your TV and Mini Box
- Make sure both your TV and Mini Box are powered on.
- Point the remote at the Mini Box during setup.
Step 3: Enter Setup Mode on the Remote
- Press and hold the “Setup” button on the Cox remote until the LED light turns green.
- This indicates the remote is in programming mode.
Step 4: Program Your TV
Option 1: Manual Code Entry
- Find the 3- or 4-digit code for your TV brand in the Cox remote guide or on Cox website.
- Enter the code using the number buttons on the remote.
- The LED light will blink twice if the code is correct.
Option 2: Auto Code Search (If You Don’t Have a Code)
- Press the TV button on the remote after entering setup mode.
- Press the Power button repeatedly. The remote will cycle through possible codes.
- When the TV turns off, press OK or Select to save the code.
Step 5: Test the Remote
- Press Power to turn the TV on/off.
- Adjust Volume and Mute to confirm the remote is fully synced.
- If any buttons do not work, repeat steps with the next TV code.
Step 6: Pair the Remote to the Mini Box
- Follow on-screen instructions to pair the remote with the Mini Box if required.
- Test changing channels and using the guide.
Troubleshooting Tips
- Remote not responding: Replace batteries and try syncing again.
- TV power or volume not working: Try a different TV code or use auto search.
- Mini Box pairing fails: Unplug the Mini Box for 10 seconds and retry pairing.
- No response from TV or Mini Box: Make sure you are pointing the remote directly at the devices during setup.
